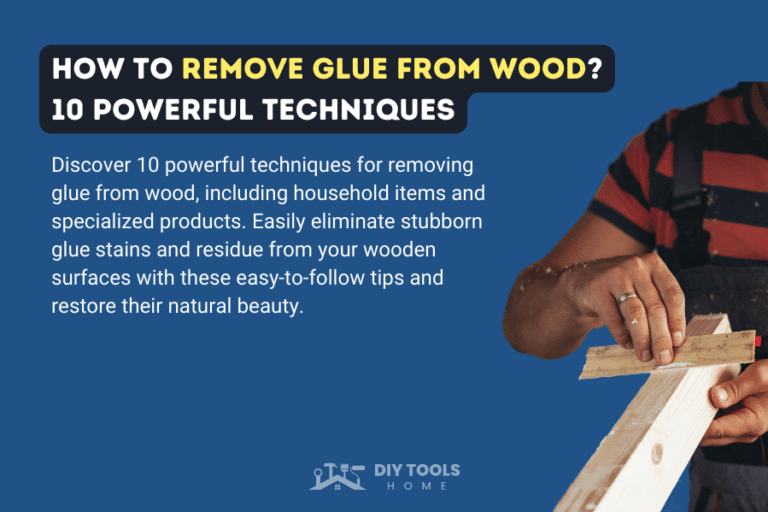
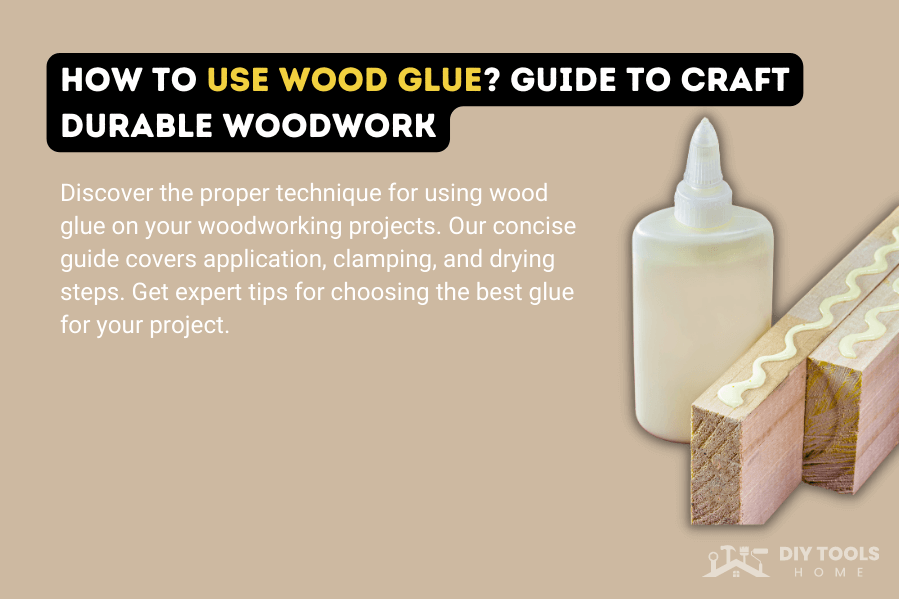
How To Use Wood Glue? Best Guide to Craft Durable Woodwork
Wood glue is an essential tool in carpentry that makes a solid and durable bond between pieces of wood without the need for nails or screws. Sometimes it’s tricky to use and apply wood glue. Even though people have been using wood glue for decades, many are prone to mistakes.
With the correct type of wood glue and proper application techniques, you can create aesthetically pleasing joints that are functional and attractive. Do you want to learn the appropriate steps to follow while applying glue?
In this article, we will share a step-by-step guide on how to use wood glue and the common mistakes to avoid while using wood glue. Let’s get to begin!
Table of Contents
When to use wood glue?
Wood glue is an excellent adhesive option for many woodworking projects. It offers many benefits over traditional methods of joining wood, such as using nails or screws.
You can use wood glue to combine two or more pieces of wood and create a seamless bond between them. It’s handy when working with hardwood or when the wood pieces have irregular shapes, making it challenging to use traditional fasteners.
Another way to use wood glue is to repair cracks, chips, or broken pieces of wood. The glue penetrates the wood fibers and creates a solid bond to restore the wood’s original strength.
In addition to joining and repairing, you can use wood glue to finish wood surfaces. Apply a thin layer of glue over a wood surface and then sand it down to a smooth and even surface that you can paint or stain.
Applying Glue on Wood: A Comprehensive Step-by-Step Tutorial
People have been using wood glue for centuries but are prone to making mistakes and spoiling the woodwork. Here are some simple steps to create a durable bond between woods and have a pleasing look.
Step 1: Choose the Right Type of Wood Glue
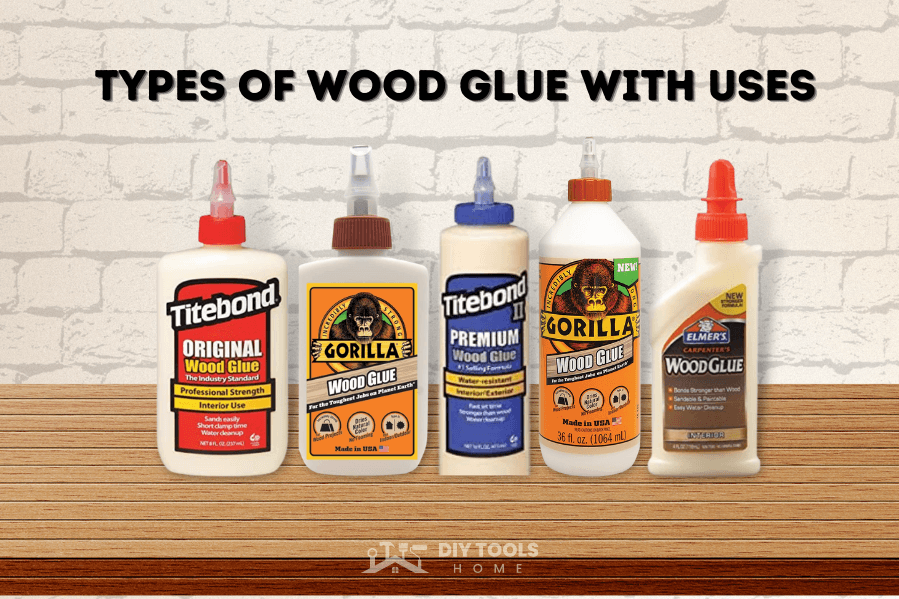
Various types of wood glue are available, each with unique properties and drying times. Make sure you select the right kind of wood glue according to your project.
Step 2: Prepare the Surface
Before applying wood glue on wood, whether the wood is clean or not should be seen. Clean the wood surface and be free of dust or debris. There should be no gap between the wood where you apply the glue. Sand the surface if necessary to create a smooth and even surface.
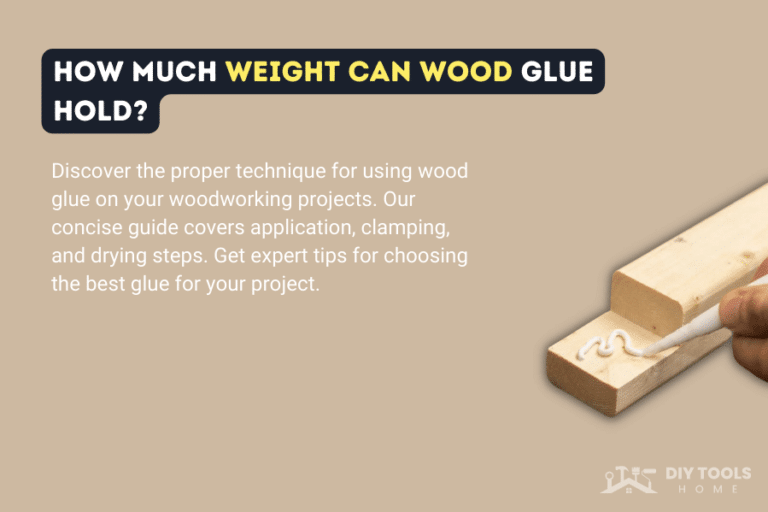
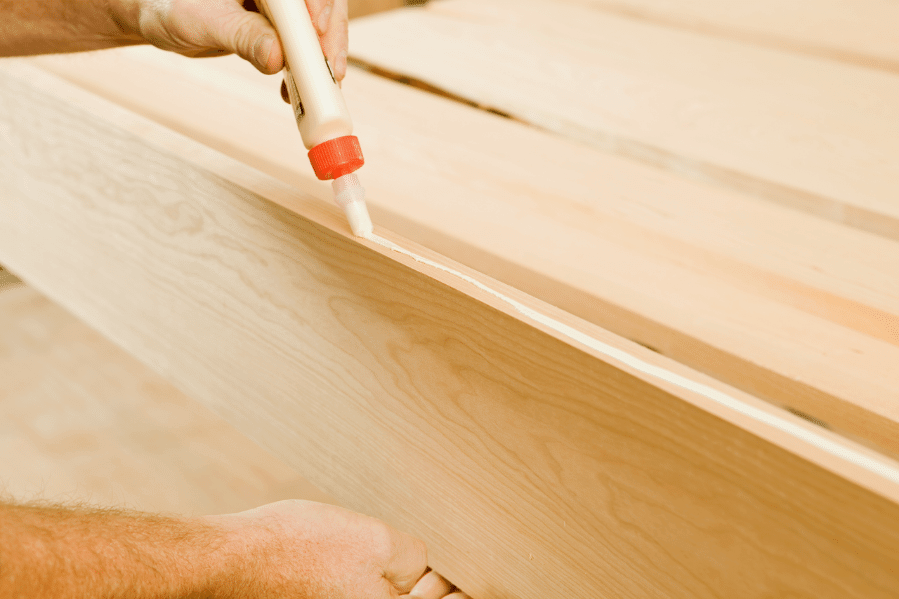
Step 3: Applying Wood Glue
People use different ways to apply wood glue, but it’s up to you which method will work for you. The simplest way to apply the wood glue is to pour it through the bottle and then spread it using a plastic card. Avoid applying too much glue, as it can cause the wood to warp or bend.
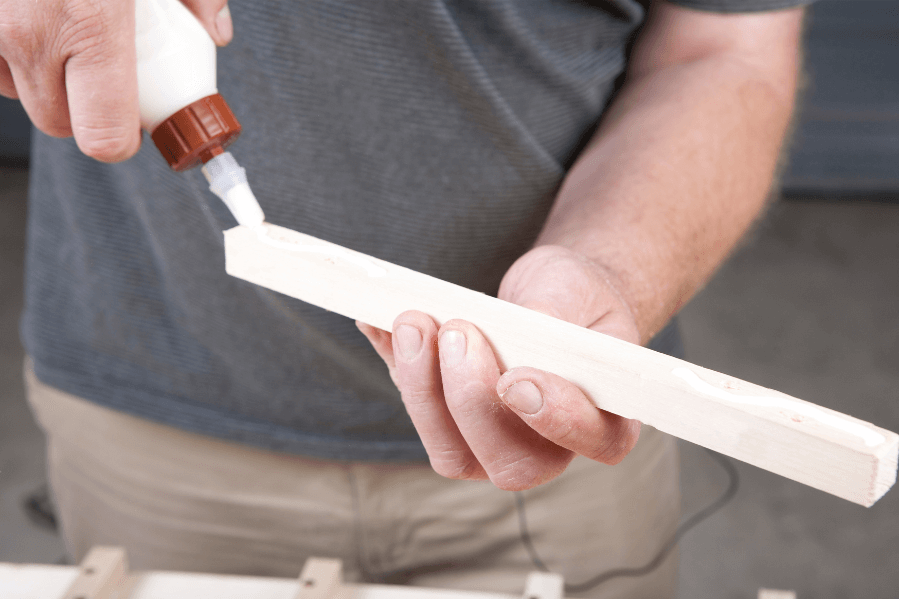
The other method to apply glue is through a specially designed wood glue roller applicator or a paintbrush. Paintbrush is a good option as it can spread a very thin layer, but it has a disadvantage in that you have to clean it immediately, so you need some extra effort.
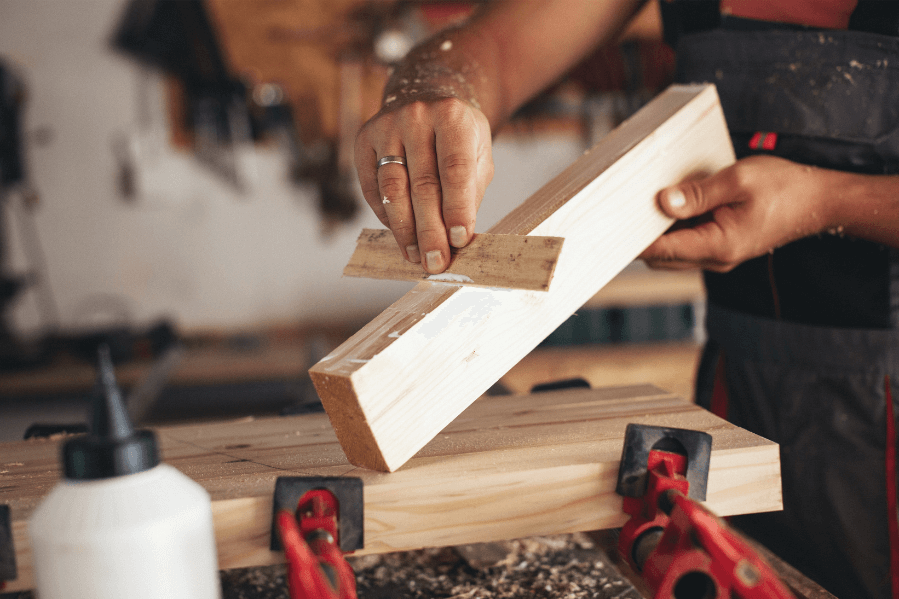
Step 4: Clamp the wood
After applying wood glue, place the wood pieces together and clamp them in place. Make sure you use enough pressure to create a tight and secure bond. Several clamps, such as bar clamps, C-clamps, or pipe clamps, can be used for this purpose. Clamps provide the pressure to bond two pieces of wood together.
Step 5: Let the glue dry
Now, allow the glue to dry. The drying time for wood glue differs depending on the type of glue and humidity in your workspace. The drying times mean the glue’s moisture evaporates and advances to at least a tacky state.
Generally, a thin layer takes up to 30 minutes to an hour, while a thick layer can take 24 hours to dry. Knowing about your wood glue drying time is essential to get better results. So how long does your wood glue take to dry?
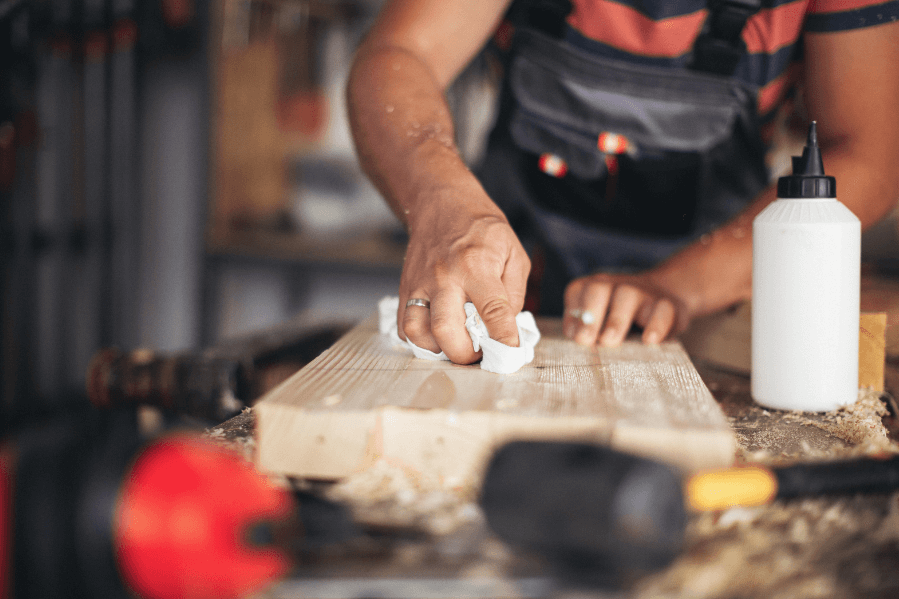
Step 6: Remove the Excess Glue
In this step, Remove the squeezed-out glue. Removing the squeezed glue is more complex than applying the glue. Here are some tips to make the removal easier.
- Try to use a putty knife to clean the fresh glue.
- Use a stick to remove glue from joints.
- Put a piece of paper on fresh squeezed-out glue, which will absorb the excess adhesive.
- You can use a card scraper or any other scraping tool to remove excess dried-up glue.
We have also covered a detailed guide on how to remove wood glue. Let’s find out.
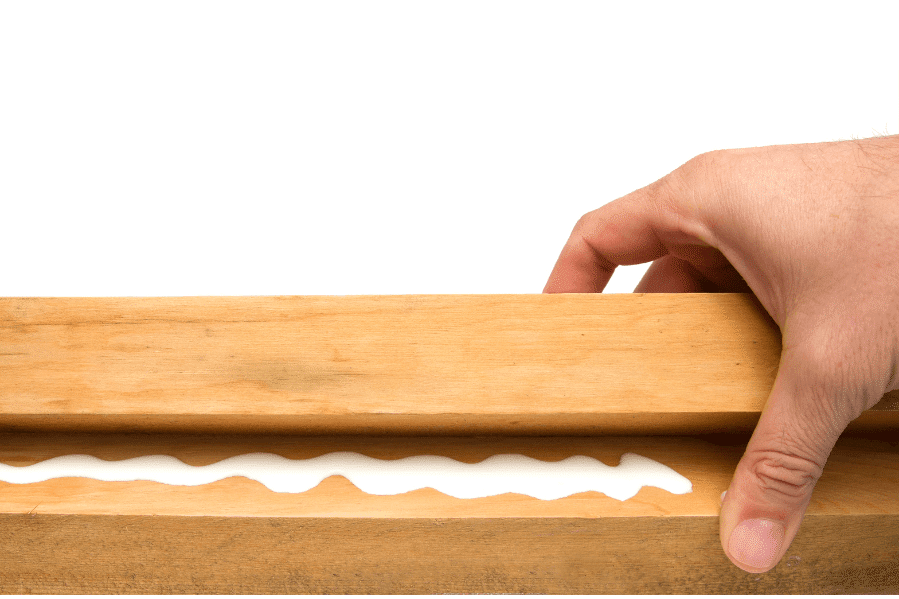
What is the right amount of wood glue to apply?
This is the question of many carpenters and woodworkers. Applying the right amount of wood glue is essential to ensure the strength of your wood joints. With practice, you can quickly determine the appropriate amount needed.
Using your finger or a plastic card to spread the glue evenly across the surface is the most effective way. If you apply the glue only partially, the joints will be stronger than they are. Therefore, a thin layer of adhesive covering the surface is crucial.
How to Optimize Your Time When Gluing?
How to Optimize Your Time When Gluing
Wood glue takes time to dry and cure. It might be frustrating to wait if you are in a hurry for your project. So here are some tips to get you through this waiting period.
1. Plan Beforehand
Gather all your necessary materials and tools before you start gluing. This step will save you time from stopping and searching for items mid-project.
2. Work In Sections
When you want to glue large surfaces, work in small sections rather than trying to apply glue to the entire area at once. This will allow you to work more efficiently and prevent the glue from drying out before you can work with it.
3. Clamp Down Materials
After applying glue, clamp or weigh down the materials to ensure a strong bond. This step will allow you to move on to other tasks while the glue dries without worrying about the materials sliding.
4. Use A Drying Accelerator
Use a drying accelerator if you’re in a hurry or need to speed up the drying process. These products can help glue dry faster and move you to the next step more quickly.
5. Have A Backup Plan
Have a backup plan if you need more time, or the glue doesn’t work. Consider using an alternative adhesive or a different way to complete the project without glue.
Common Mistakes Made While Using Wood Glue
The most common mistake made while using wood glue is applying excessive glue, which results in more curing time and applying too much pressure with the help of clamps which causes the adhesive to squeeze out from the two pieces.
The best way to avoid these common mistakes is to practice repeatedly. The key points that you should take into consideration are:
Final Thoughts
Using wood glue can be a highly effective way to create strong bonds between wooden materials. To ensure the best results, it’s essential to choose the right type of glue and take the proper steps to apply glue to make the most of your time.
Following the above steps and tips, you can create professional-quality woodwork and other projects that will last years.
Related Questions
How Permanent Is Wood Glue?
Wood glue creates a permanent bond between wood that is difficult to break. But the strength of the bond depends on various factors, like wood type, the glue you apply, and the conditions under which you are doing the project.
Is Wood Glue Waterproof When Dry?
Not all types of wood glue are waterproof when dry. It depends on the specific type of wood glue you use. Wood glue, like Type III or Titebond III, is designed to be highly water-resistant and can withstand exposure to moisture and humidity without losing its adhesive properties.
Can You Put Wood Glue On The Screws?
Yes, you can put wood glue on screws. It can strengthen the joint and improve the overall stability of your woodworking project.